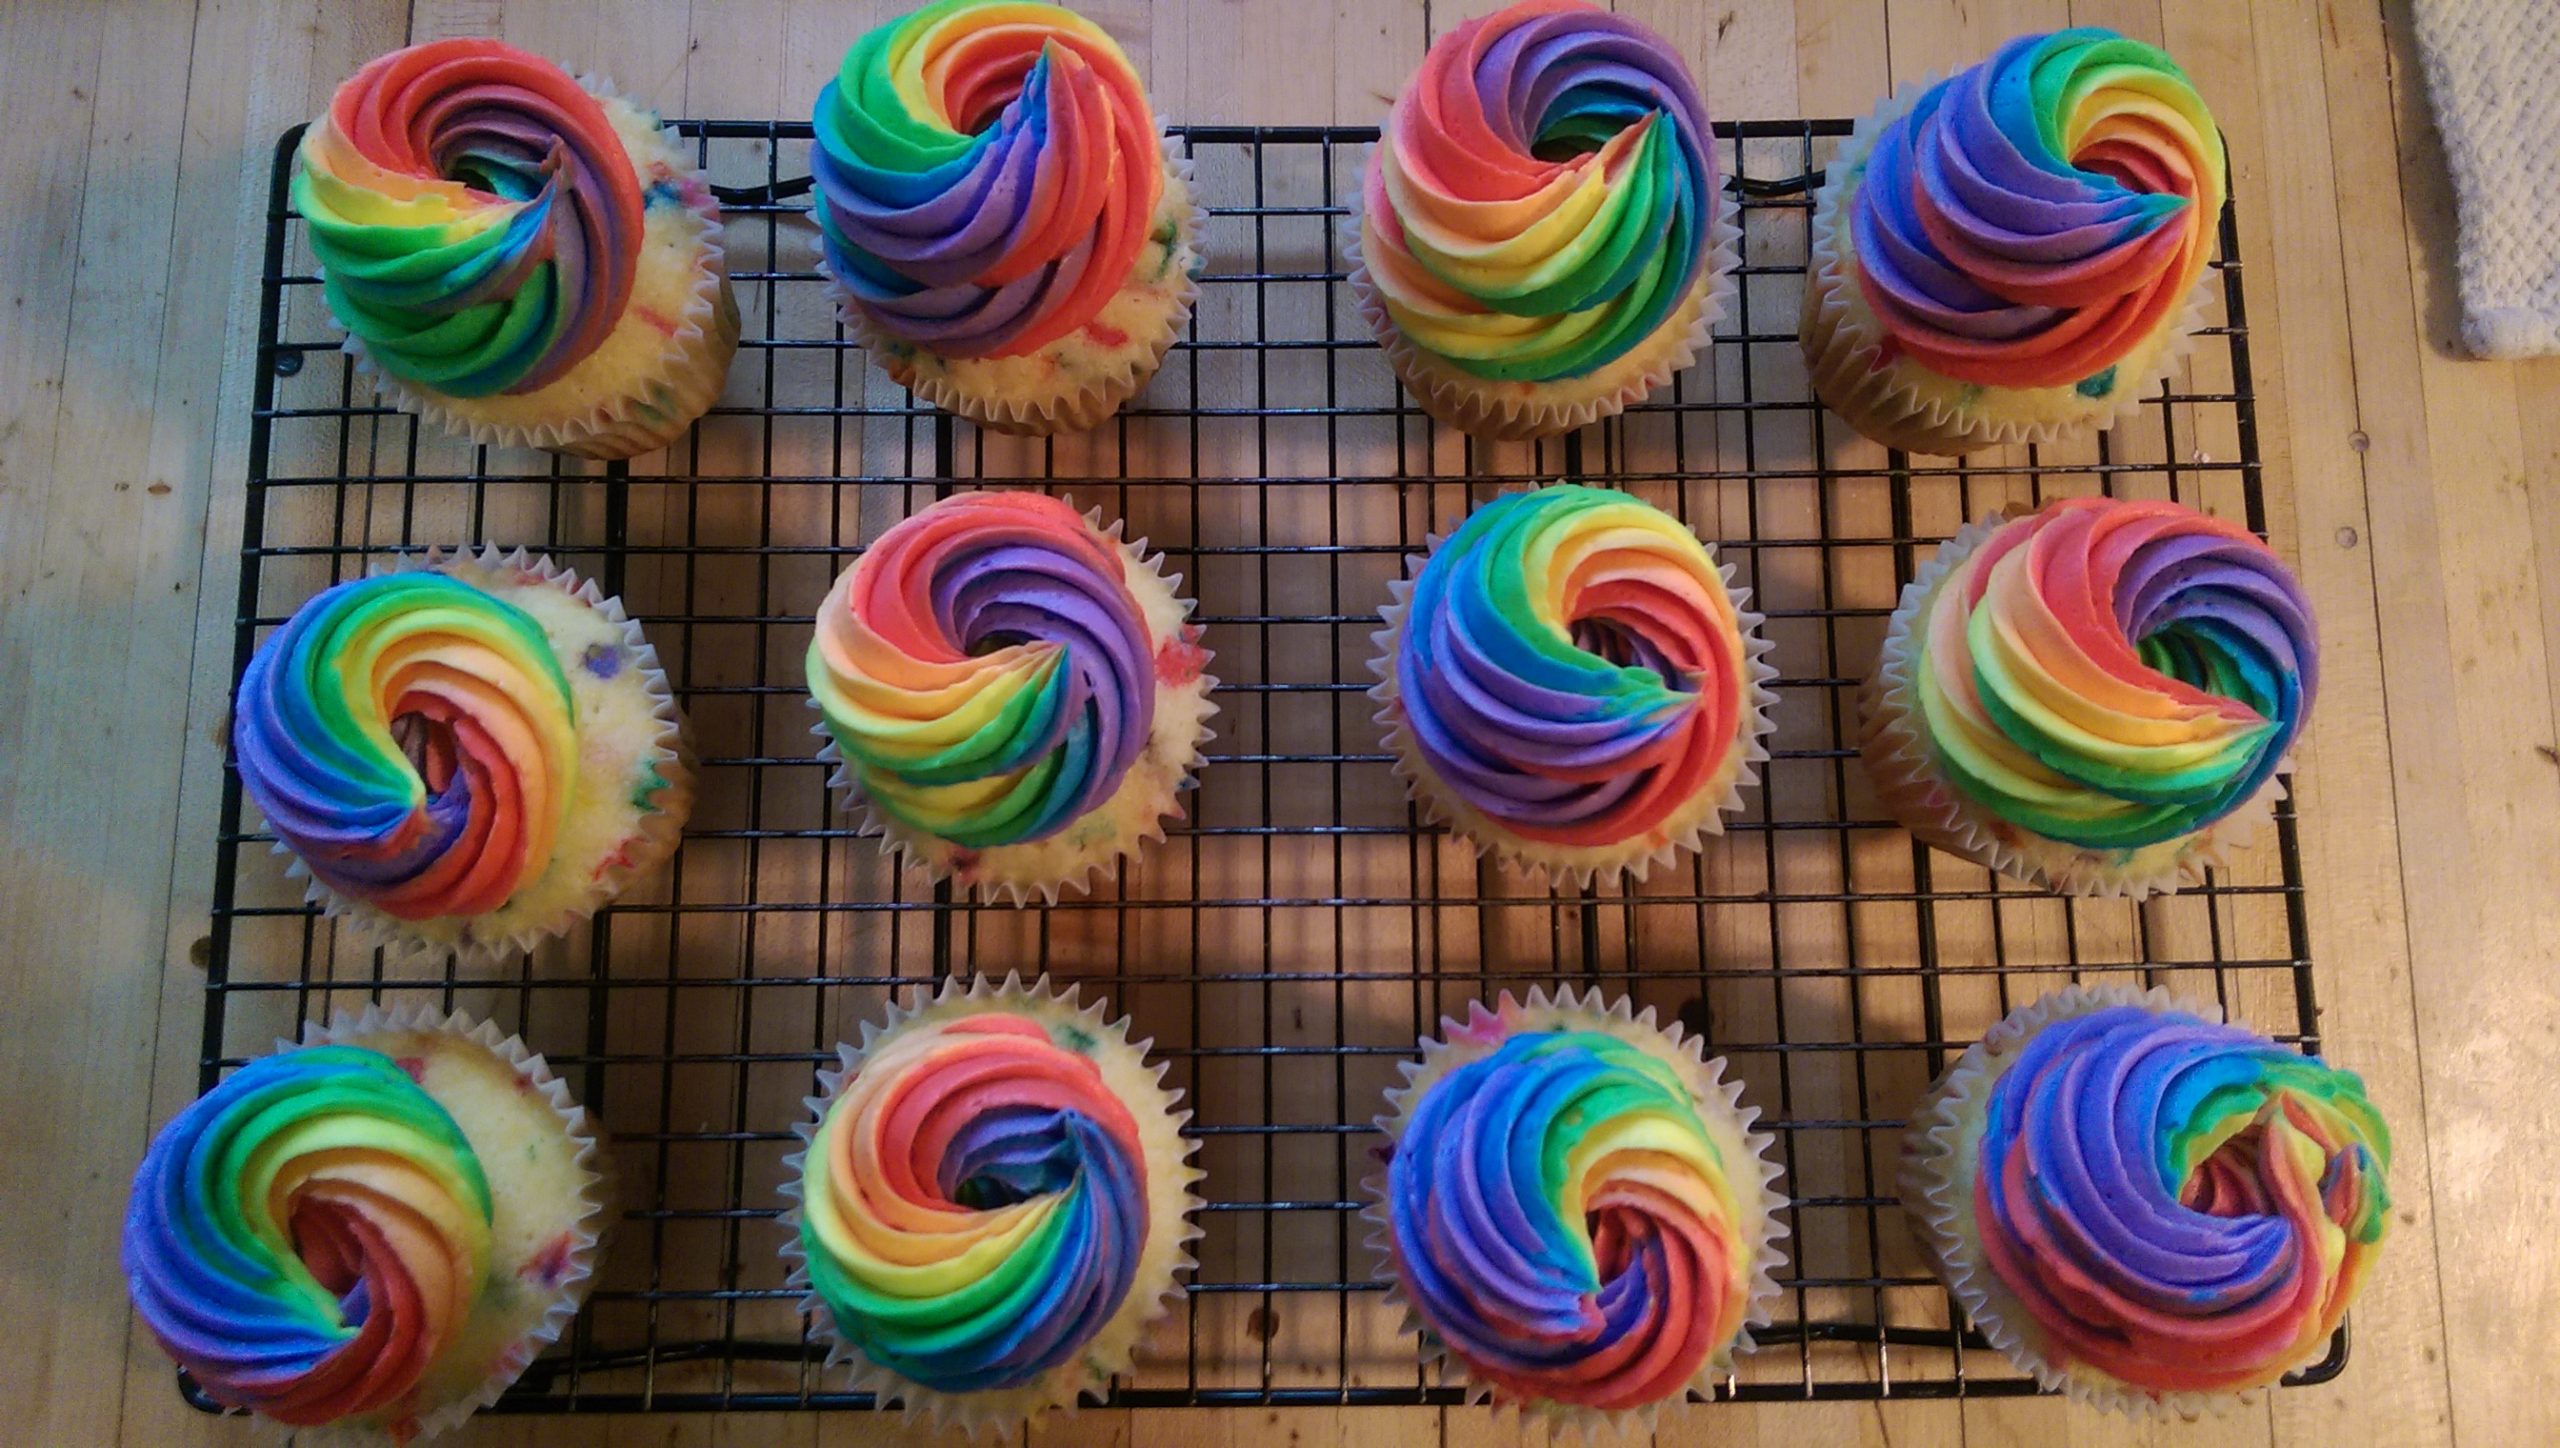
It’s been quite the dreary start to April. Rain, rain and more rain. So why not brighten up the day with the best part of a rainstorm? The rainbow! I’m not the biggest fan of using dyes and fake colors but sometimes, it can’t be avoided. I needed cupcakes that were bright and colorful. The result were these incredible Rainbow Birthday Cake Cupcakes. A mouthful of a title, yes. Delicious and beautiful? Absolutely! You can’t beat birthday cake flavored ANYTHING. You just can’t. And topped off with beautiful rainbow colored frosting? Stunning.

I was actually flabbergasted that these turned out so beautiful the first time. I’m chalking it up to beginner’s luck. Sometimes things go flawlessly the first time I try them and then after that, they don’t turn out so well. I’m almost afraid to try this again but I won’t be able to resist. All the possible color combos makes my brain do back flips.
I didn’t take photos during this whole process, so next time I will try to get some. It was actually fairly simple once all the frosting was colored.

I put each color in a separate bag. I had a few small 12″ piping bags and a couple plastic storage bags. Either of these worked just fine for me. I laid down a sheet of plastic wrap on my work table and then piped a horizontal row of each color on top of the plastic wrap. I piped each color right up next to the previous color so they were touching. Once all the colors were piped on the plastic wrap, I grabbed the edge of plastic wrap that is closest to me and gently lifted up and over the other colors to “meet up” with the last color that was piped. I gently rolled my frosting log back and forth to slightly mush the colors together, but not too much! Rolling also helps remove air that may be trapped inside. Make sure the ends of the plastic wrap are twisted together and then place it inside a prepared piping bag. Pull one end of the plastic wrap through the piping tip and snip it off then gently pull it back slightly into the piping tip.

I am still so happy with how these turned out and couldn’t stop staring at them the day they were made. This was such an easy and mess free way to fill a piping bag with several colors all at once. I still can’t believe they turned out so well! Hopefully the colors brighten your day! We certainly need it here!!
Ann